Paver Installation in Seaford, NY

Transform Your Outdoor Space with Expert Craftsmanship

Professional paver installation that creates stunning outdoor living spaces you’ll actually want to spend time in, backed by over 25 years of masonry expertise.

A masonry contractor Nassau County uses yellow gloves and a rubber mallet to lay gray paving stones on sand, creating a patio or walkway. Nearby, a tape measure and extra pavers are ready for use.

Hear from Our Customers

A worker wearing gloves and yellow work pants uses a rubber mallet to install concrete paving slabs, with various tools like a level, tape measure, and broom nearby—typical of a skilled masonry contractor Nassau County, NY.

Professional Paver Services Seaford

Your Outdoor Space, Finally Done Right

You’re tired of looking at that bland concrete slab or patchy grass where your dream patio should be. You want something that actually adds value to your home and gives you a reason to invite people over.

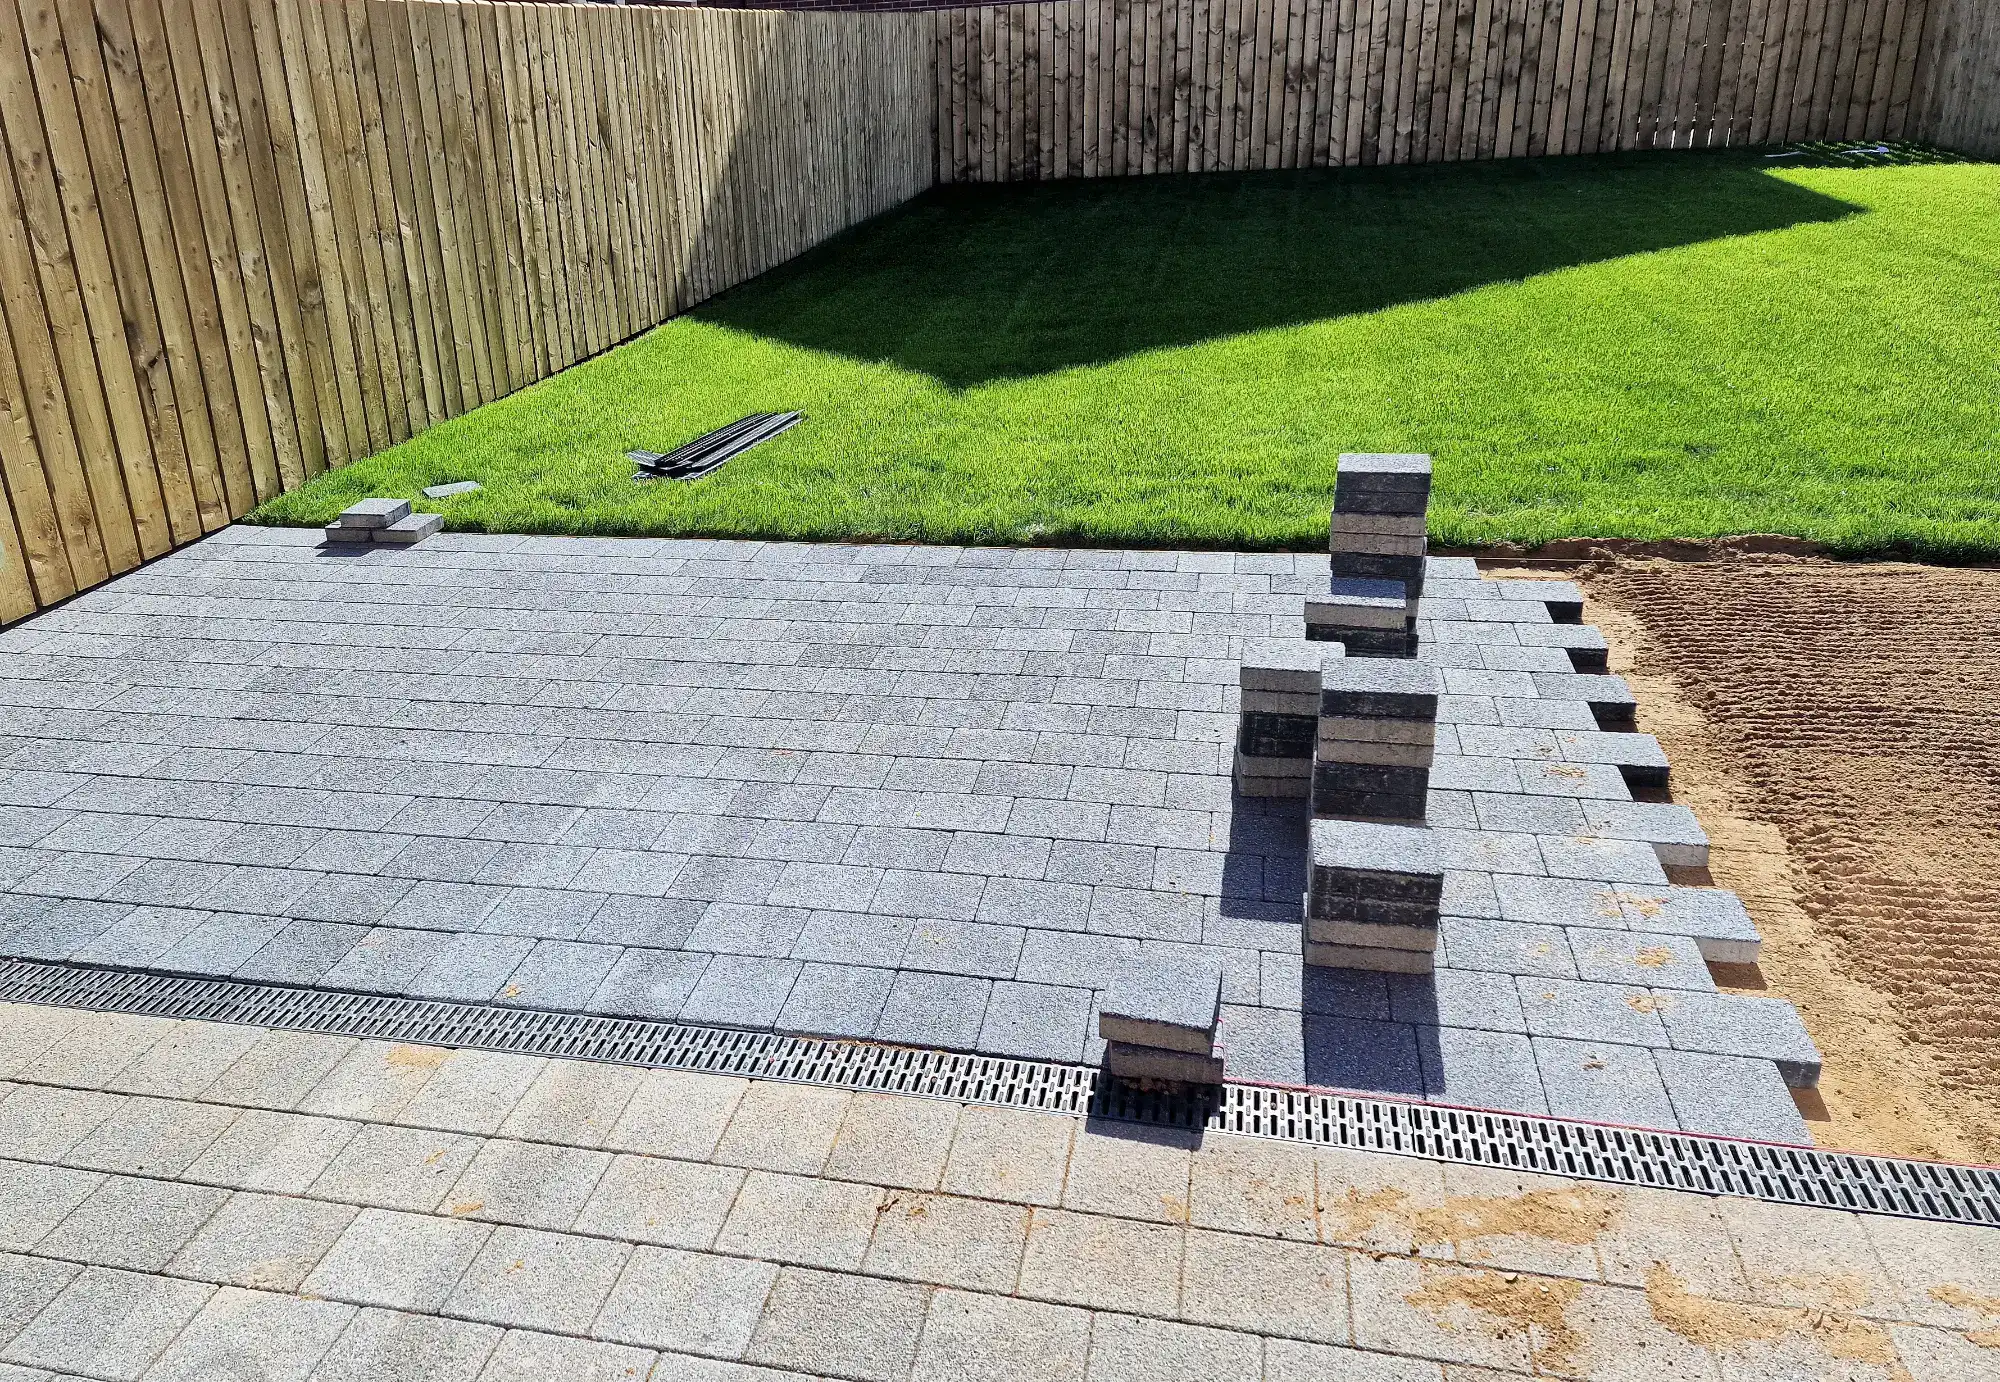
Here’s what changes when you get professional paver installation. Your backyard becomes the place where you actually want to spend your evenings. Your property value jumps. Your neighbors start asking who did the work because it looks that good.

No more worrying about cracks, settling, or that DIY disaster you’ve been putting off. Just a beautiful, durable outdoor space that handles everything from family barbecues to Long Island’s unpredictable weather.

Masonry Paver Experts Seaford

25 Years of Getting It Right

We’ve been installing pavers in Seaford and throughout Nassau County since before it was trendy. While other contractors come and go, we’ve built our reputation one properly installed patio at a time.

What sets us apart isn’t just our experience. It’s that we actually understand what works in this area. We know how Long Island soil behaves, what drainage issues to watch for, and which materials hold up best against our winters.

You’re not getting a crew that learned paver installation from YouTube videos. You’re getting craftsmen who’ve solved every possible problem you can imagine, and a few you probably haven’t thought of yet.

Gray paving stones being laid in a backyard by a masonry contractor Nassau County, NY, with some stacked in piles on the partly finished surface. A section of green lawn and a wooden fence are in the background. Sand and tools are visible on the side.

Paver Patio Installation Process

No Surprises, No Shortcuts, No Regrets

First, we come out and actually look at your space. Not just a quick glance, but a real assessment of your soil, drainage, and what you’re trying to accomplish. We’ll talk through options that make sense for your budget and your lifestyle.

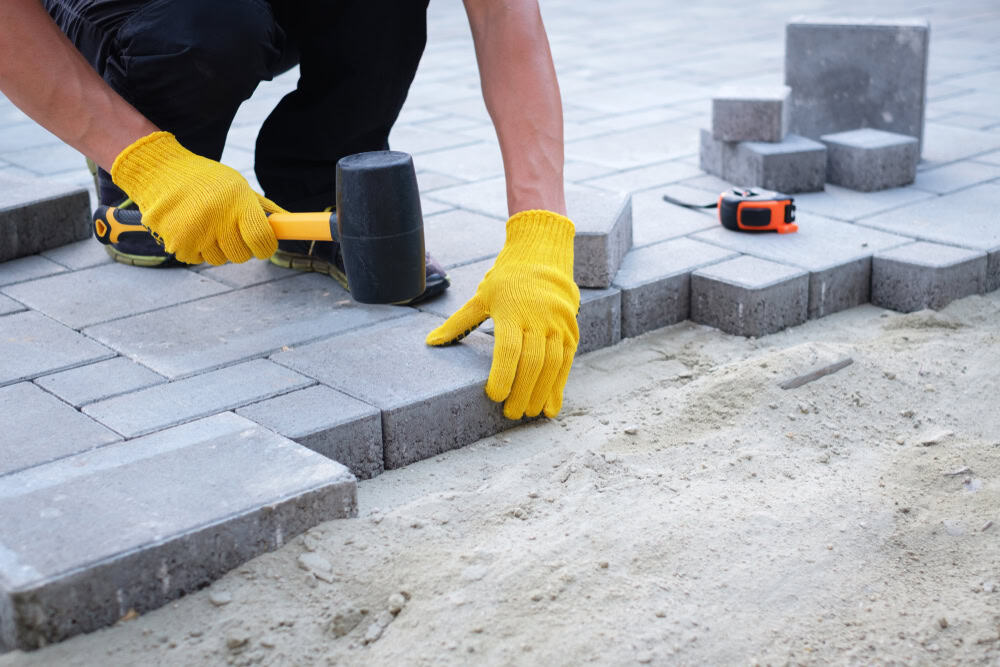
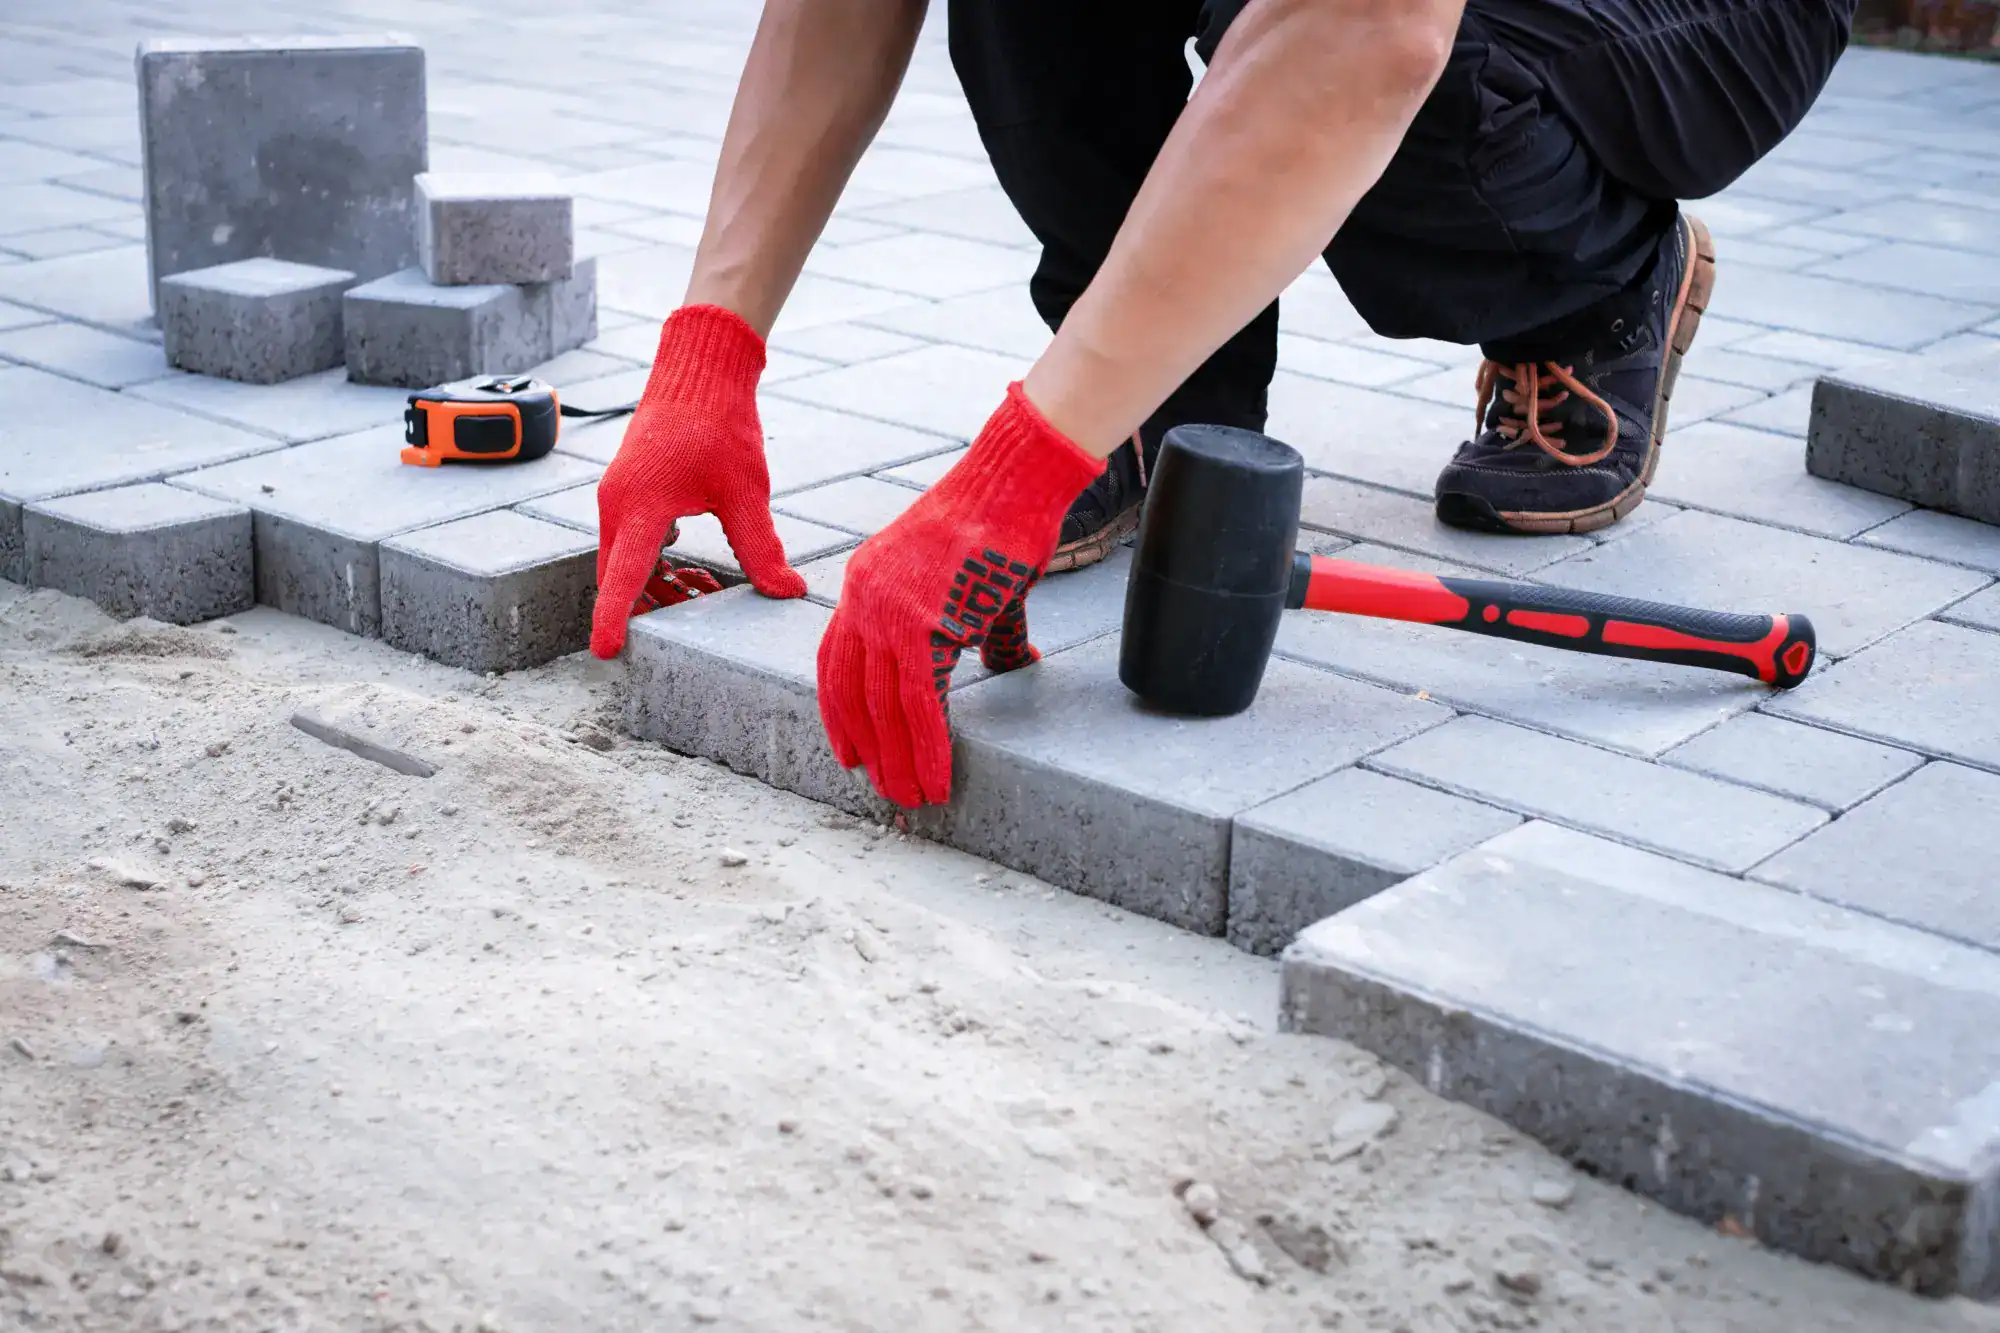
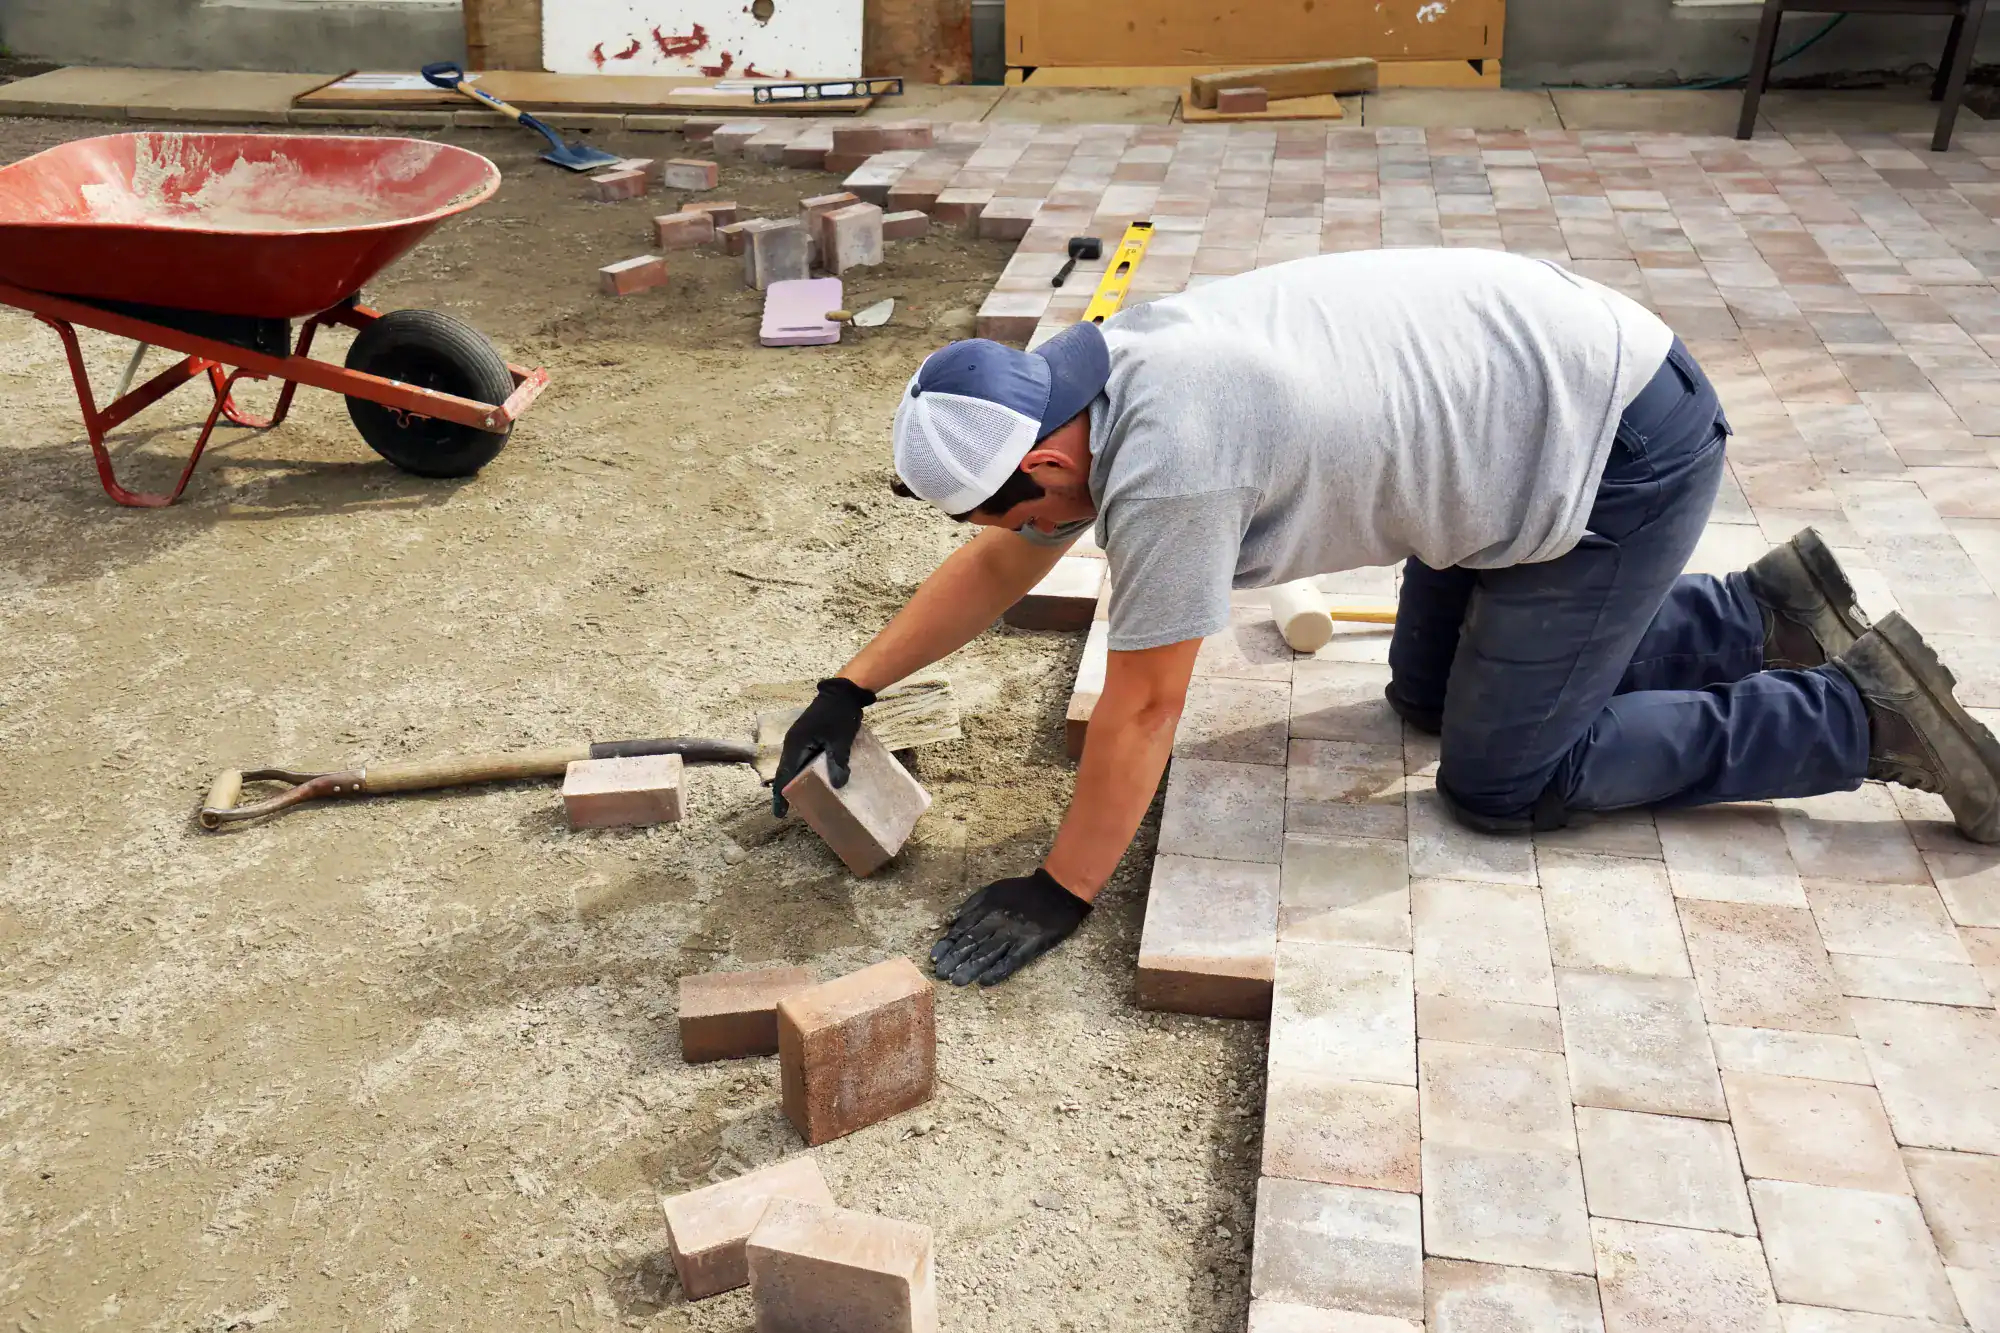
Then we handle the heavy lifting. Proper excavation, the right base materials, precise grading for drainage. This is where most contractors cut corners, and it’s exactly where we don’t. Your pavers are only as good as what’s underneath them.

Finally, we install your pavers with the kind of attention to detail that means they’ll still look great in twenty years. Every joint is properly spaced, every edge is clean, and every surface is level. When we’re done, you’ll have an outdoor space that actually works the way it should.

A person in red gloves and black work boots, likely a masonry contractor Nassau County, is laying gray pavers on sand with a rubber mallet and tape measure, working diligently on constructing a paved walkway or patio.

Ready to get started?

Explore More Services

About Raffaele Outdoor Concepts

Get a Free Consultation

Brick Paver Patio Installation

Built for Seaford's Climate and Lifestyle

Living in Seaford means dealing with everything from summer beach parties to winter freeze-thaw cycles. Your paver installation needs to handle it all without falling apart.

We use materials that make sense for Long Island. Concrete pavers that won’t crack when temperatures drop. Brick pavers that develop character instead of damage over time. Natural stone that looks better with age, not worse.

Your installation includes proper drainage designed for our local soil conditions. Base materials that won’t shift or settle. Edge restraints that keep everything in place through seasons of expansion and contraction. This isn’t just about making it look good today. It’s about making sure it stays that way.

A masonry contractor Nassau County, NY kneels on the ground, wearing gloves and a cap, carefully placing brick pavers for a patio. Nearby, a wheelbarrow, shovel, and spirit level rest on the unfinished surface.

How much does paver installation cost in Seaford, NY?

Paver installation in Seaford typically runs $12-30 per square foot, depending on the materials you choose and the complexity of your project. A standard 400 square foot patio usually costs between $4,800-$12,000 for professional installation. The wide range comes down to your choices. Basic concrete pavers with a simple pattern cost less than natural stone with intricate designs. But here’s what matters more than the upfront cost: getting it done right the first time. Cheap installation that fails in two years isn’t a bargain. We provide detailed estimates that break down exactly what you’re paying for. No surprise charges, no hidden fees, no “oh, we didn’t realize” moments halfway through the job.
Concrete and brick pavers perform best in our climate because they’re designed to handle freeze-thaw cycles without cracking. Natural stone like bluestone and limestone also work well, though they require different installation techniques. The key isn’t just the paver material, it’s the installation method. Proper base preparation, correct sand bedding, and appropriate joint spacing make more difference than the specific paver type. We’ve seen expensive natural stone installations fail because of poor prep work, and basic concrete pavers that look perfect after fifteen years. What doesn’t work well here: thin pavers over concrete, DIY installations without proper drainage, and any installation that skips the base preparation. Long Island’s clay soil and weather patterns are unforgiving of shortcuts.
Most paver patio installations take 3-5 days from start to finish, depending on size and complexity. This includes excavation, base preparation, paver installation, and final cleanup. Larger projects or those requiring significant grading may take longer. Weather can affect timing, especially during excavation and base work. We won’t rush through crucial steps just to meet a deadline if conditions aren’t right. Proper base preparation needs time to settle and compact correctly. We’ll give you a realistic timeline upfront and keep you updated if anything changes. The goal is getting it done right, not getting it done fast. A properly installed paver patio lasts decades. A rushed job starts showing problems within months.
Most paver patios don’t require permits in Seaford, but driveways and larger hardscaping projects often do. We handle all permit applications and inspections as part of our service, so you don’t have to navigate the process yourself. Building department requirements can be confusing, and they change periodically. What’s allowed in one area might not be in another, even within the same town. We stay current on local codes and work with inspectors regularly. When permits are required, we build that time into our project schedule. No delays, no surprises, no scrambling to fix things after the fact. We make sure everything is done to code from the start.
Proper maintenance starts with good installation, and that’s where most problems get prevented. Well-installed pavers need minimal maintenance: occasional cleaning, resealing every few years, and addressing any settling before it becomes a major issue. For cleaning, regular sweeping and occasional power washing handle most situations. Stains should be addressed quickly, but properly sealed pavers resist most common stains. Joint sand may need replenishing over time, especially in high-traffic areas. We provide specific maintenance guidelines based on your paver type and installation. Some materials need more attention than others, and we’ll explain what to expect. The goal is keeping your investment looking great with minimal effort on your part.
Professional installation costs more upfront but saves money long-term through proper technique and materials. DIY installations often fail within a few years due to inadequate base preparation, poor drainage, or incorrect installation methods. The biggest difference is in what you can’t see. Base preparation, proper grading for drainage, and correct edge restraints make the difference between a patio that lasts decades and one that needs major repairs within five years. These aren’t skills you pick up from a weekend tutorial. We’ve repaired countless DIY installations that seemed fine initially but developed problems as they settled. The cost of fixing a failed DIY installation often exceeds the cost of professional installation from the start. Plus, you lose years of enjoyment from your outdoor space while dealing with the problems.