Paver Installation in Bethpage, NY

Outdoor Spaces That Actually Last

Professional paver installation that transforms your Bethpage property into something you’ll use and enjoy for decades, not years.

A masonry contractor Nassau County uses yellow gloves and a rubber mallet to lay gray paving stones on sand, creating a patio or walkway. Nearby, a tape measure and extra pavers are ready for use.

Hear from Our Customers

A worker wearing gloves and yellow work pants uses a rubber mallet to install concrete paving slabs, with various tools like a level, tape measure, and broom nearby—typical of a skilled masonry contractor Nassau County, NY.

Professional Paver Services Bethpage

Skip the Concrete Headaches

You know the drill. Concrete cracks. Asphalt crumbles. But properly installed pavers? They flex with Long Island’s freeze-thaw cycles instead of fighting them.

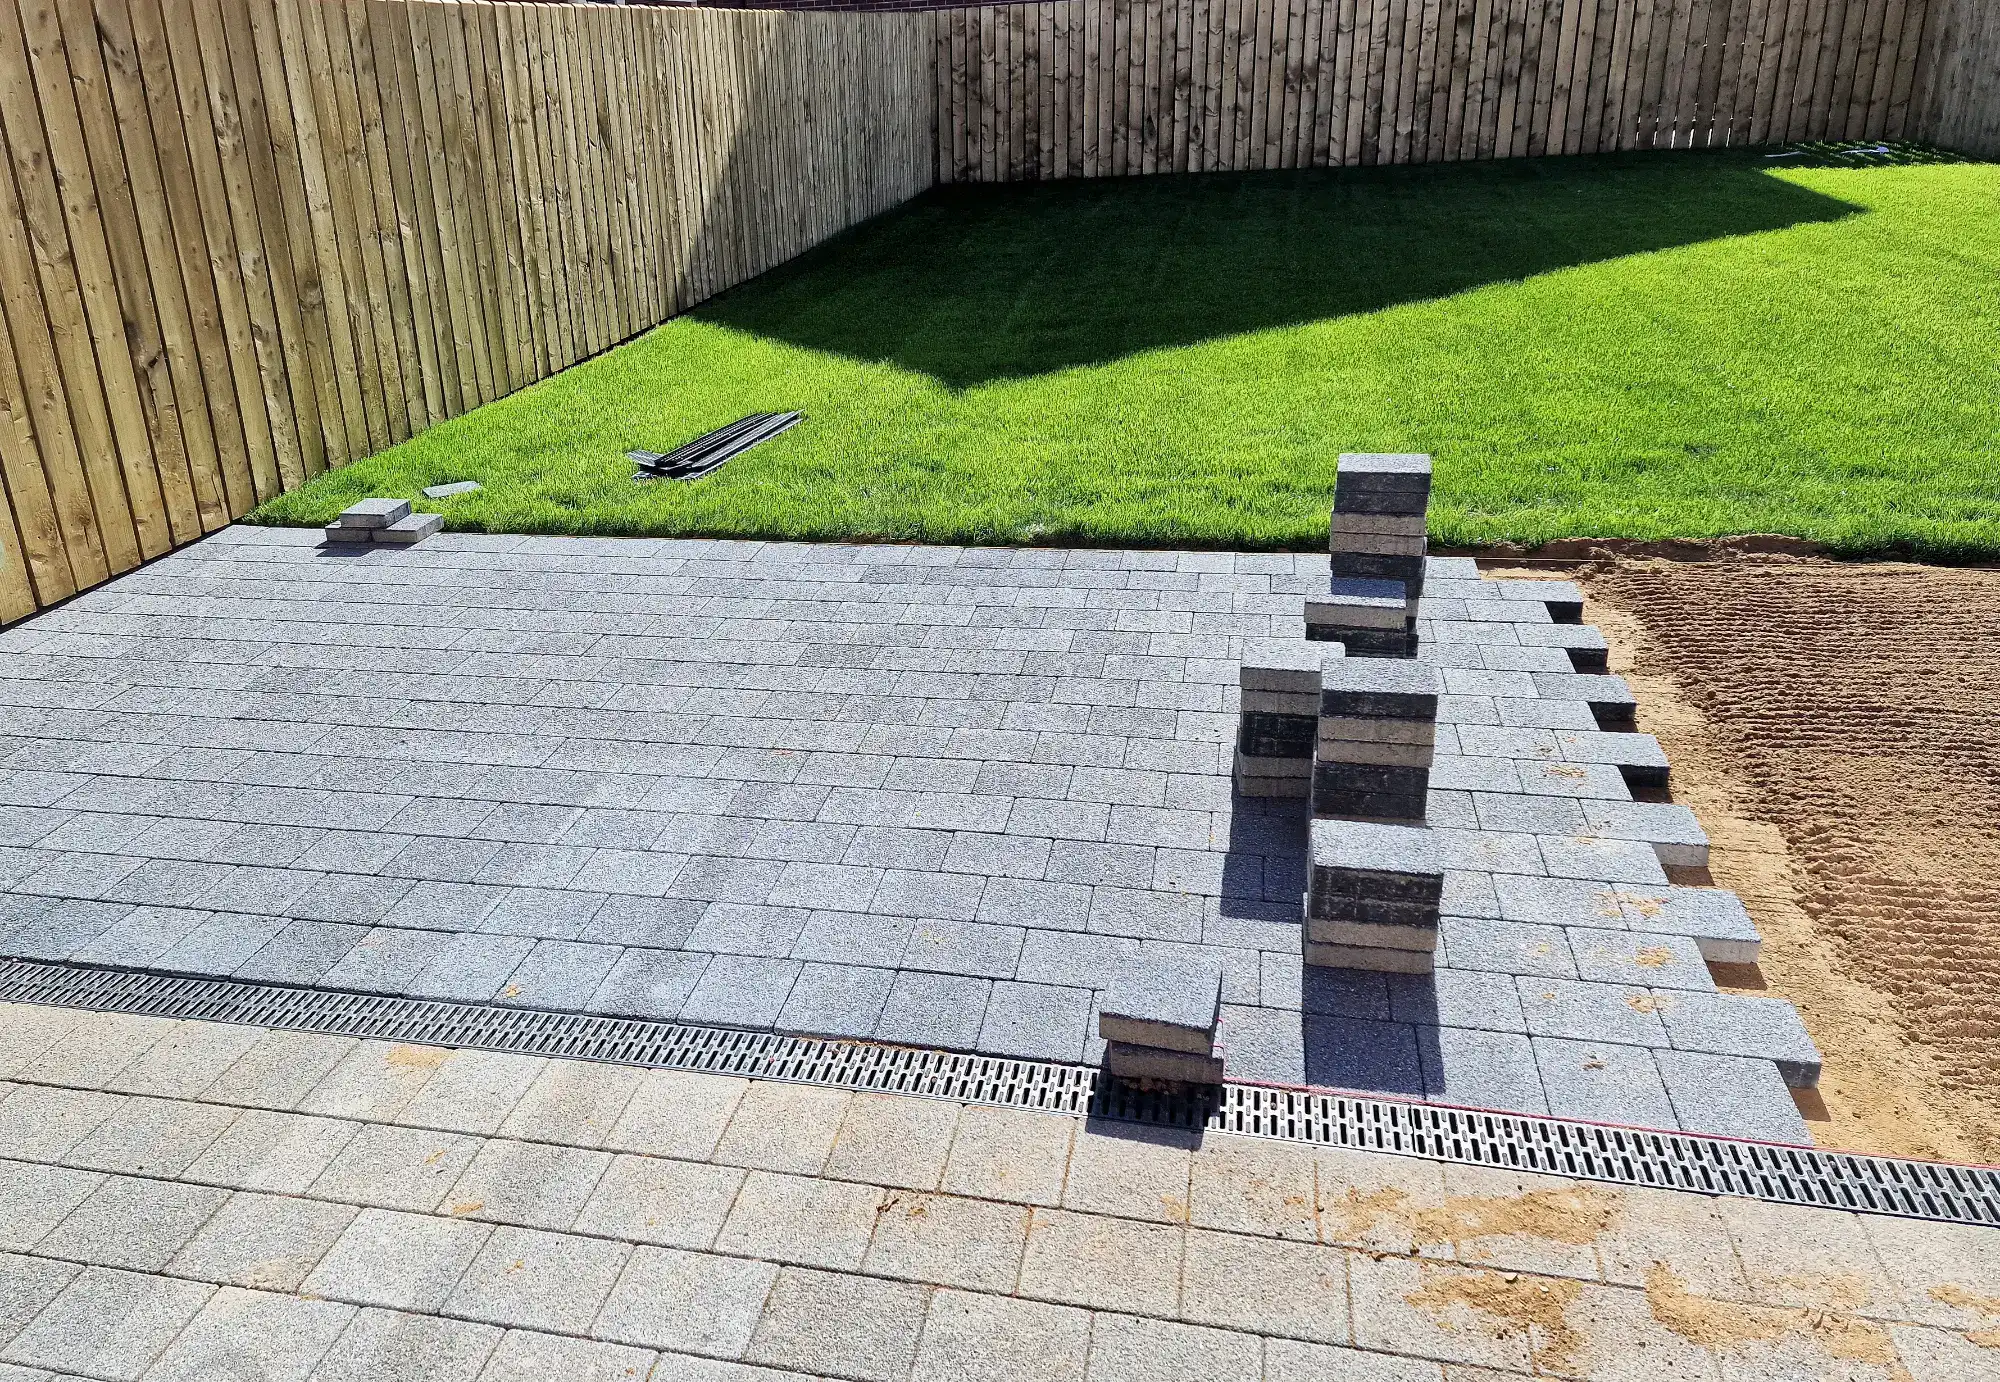
Your new paver patio handles everything our Bethpage weather throws at it. No settling that creates trip hazards. No pooling water that turns your outdoor space into a safety concern. Just a level, stable surface that looks the same in year ten as it did on day one.

While your neighbors deal with cracked concrete replacement, you’re enjoying a 69% return on investment and an outdoor space that actually gets better with age.

Bethpage Masonry Paver Experts

We've Seen What Doesn't Work

Twenty-five years of paver installation in Nassau County has taught us things. Like how Bethpage’s clay soil behaves. What happens when contractors skip proper base preparation. Why some installations fail after three years while others look perfect after fifteen.

We’ve been fixing other people’s mistakes long enough to know exactly what works in our local conditions. We excavate deeper than most. Use better base materials. Take time with drainage that other contractors rush through.

Your neighbors already know us. We’re the ones who installed Mrs. Johnson’s paver patio in 2010 that still looks brand new. The company that fixed the settling mess another contractor left at the house on Hicksville Road.

Gray paving stones being laid in a backyard by a masonry contractor Nassau County, NY, with some stacked in piles on the partly finished surface. A section of green lawn and a wooden fence are in the background. Sand and tools are visible on the side.

Paver Patio Installation Process

The Foundation Makes Everything

We start by understanding your space and how you’ll actually use it. Not every paver installation is the same, and cookie-cutter approaches lead to problems later.

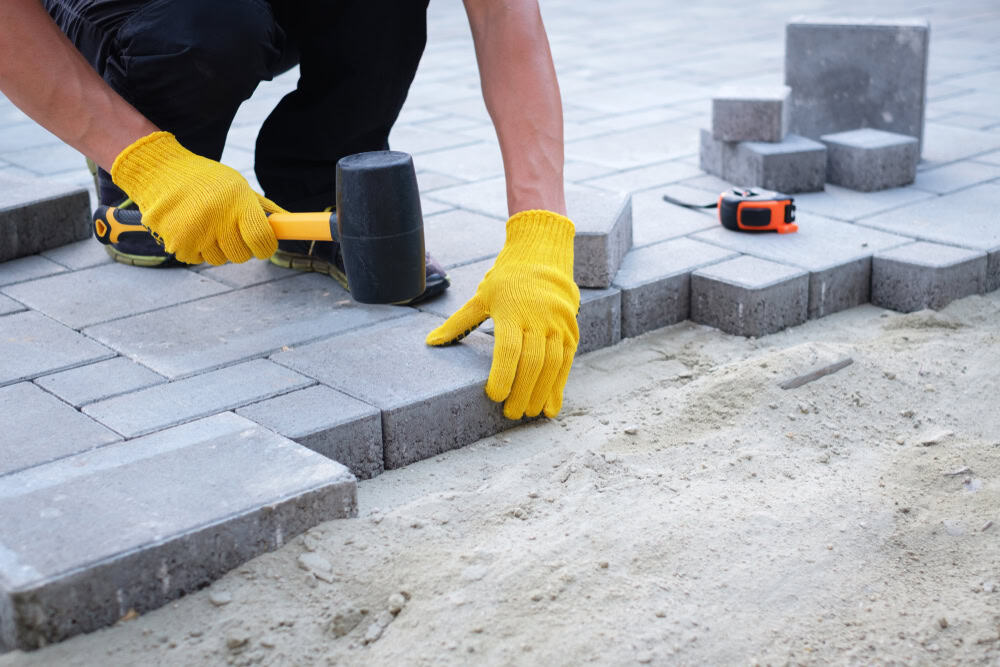
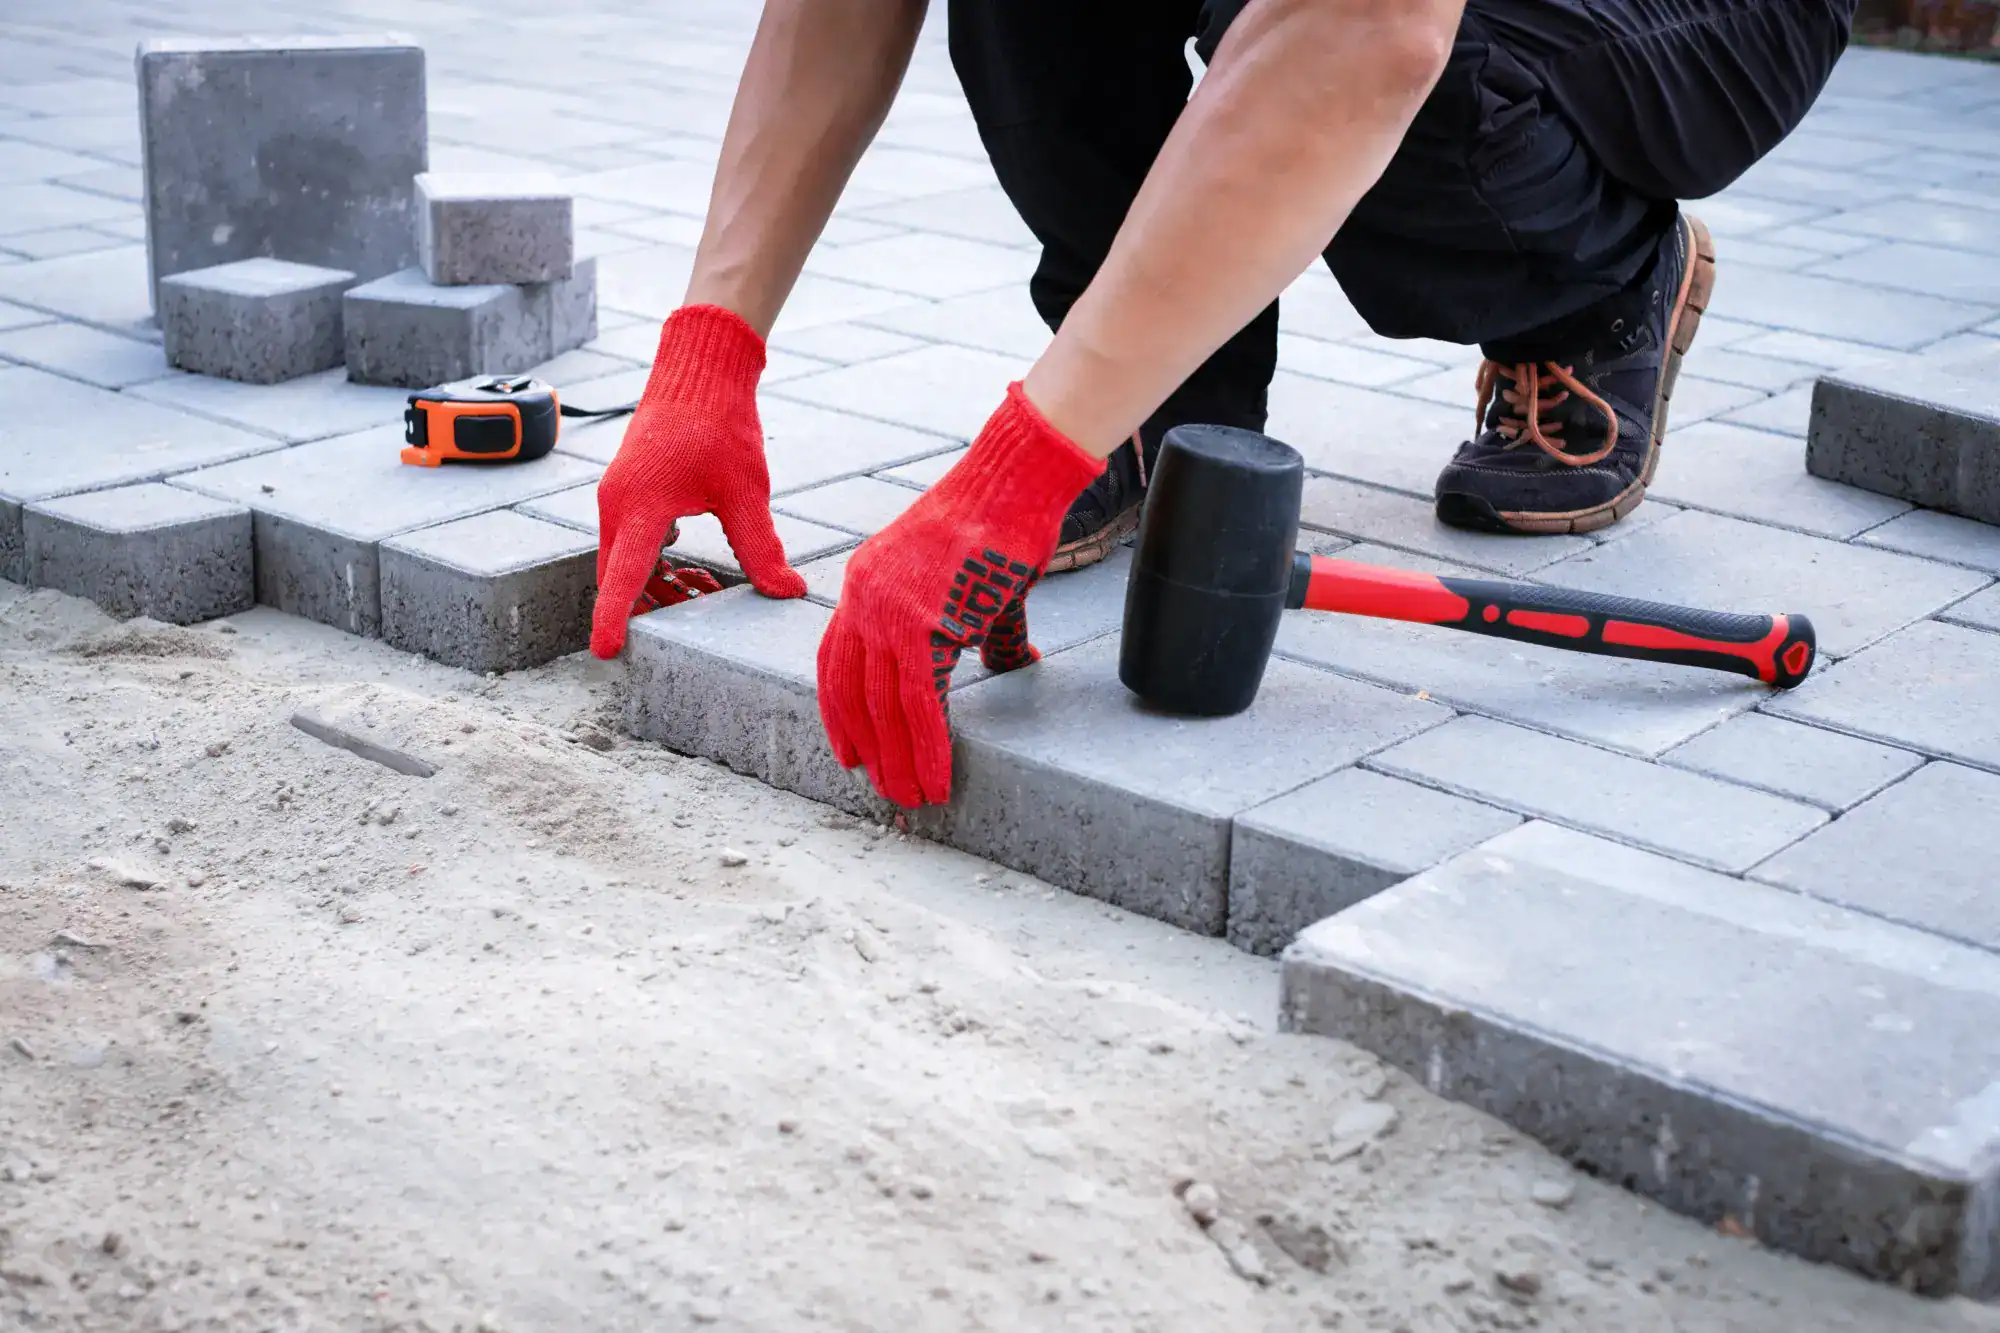
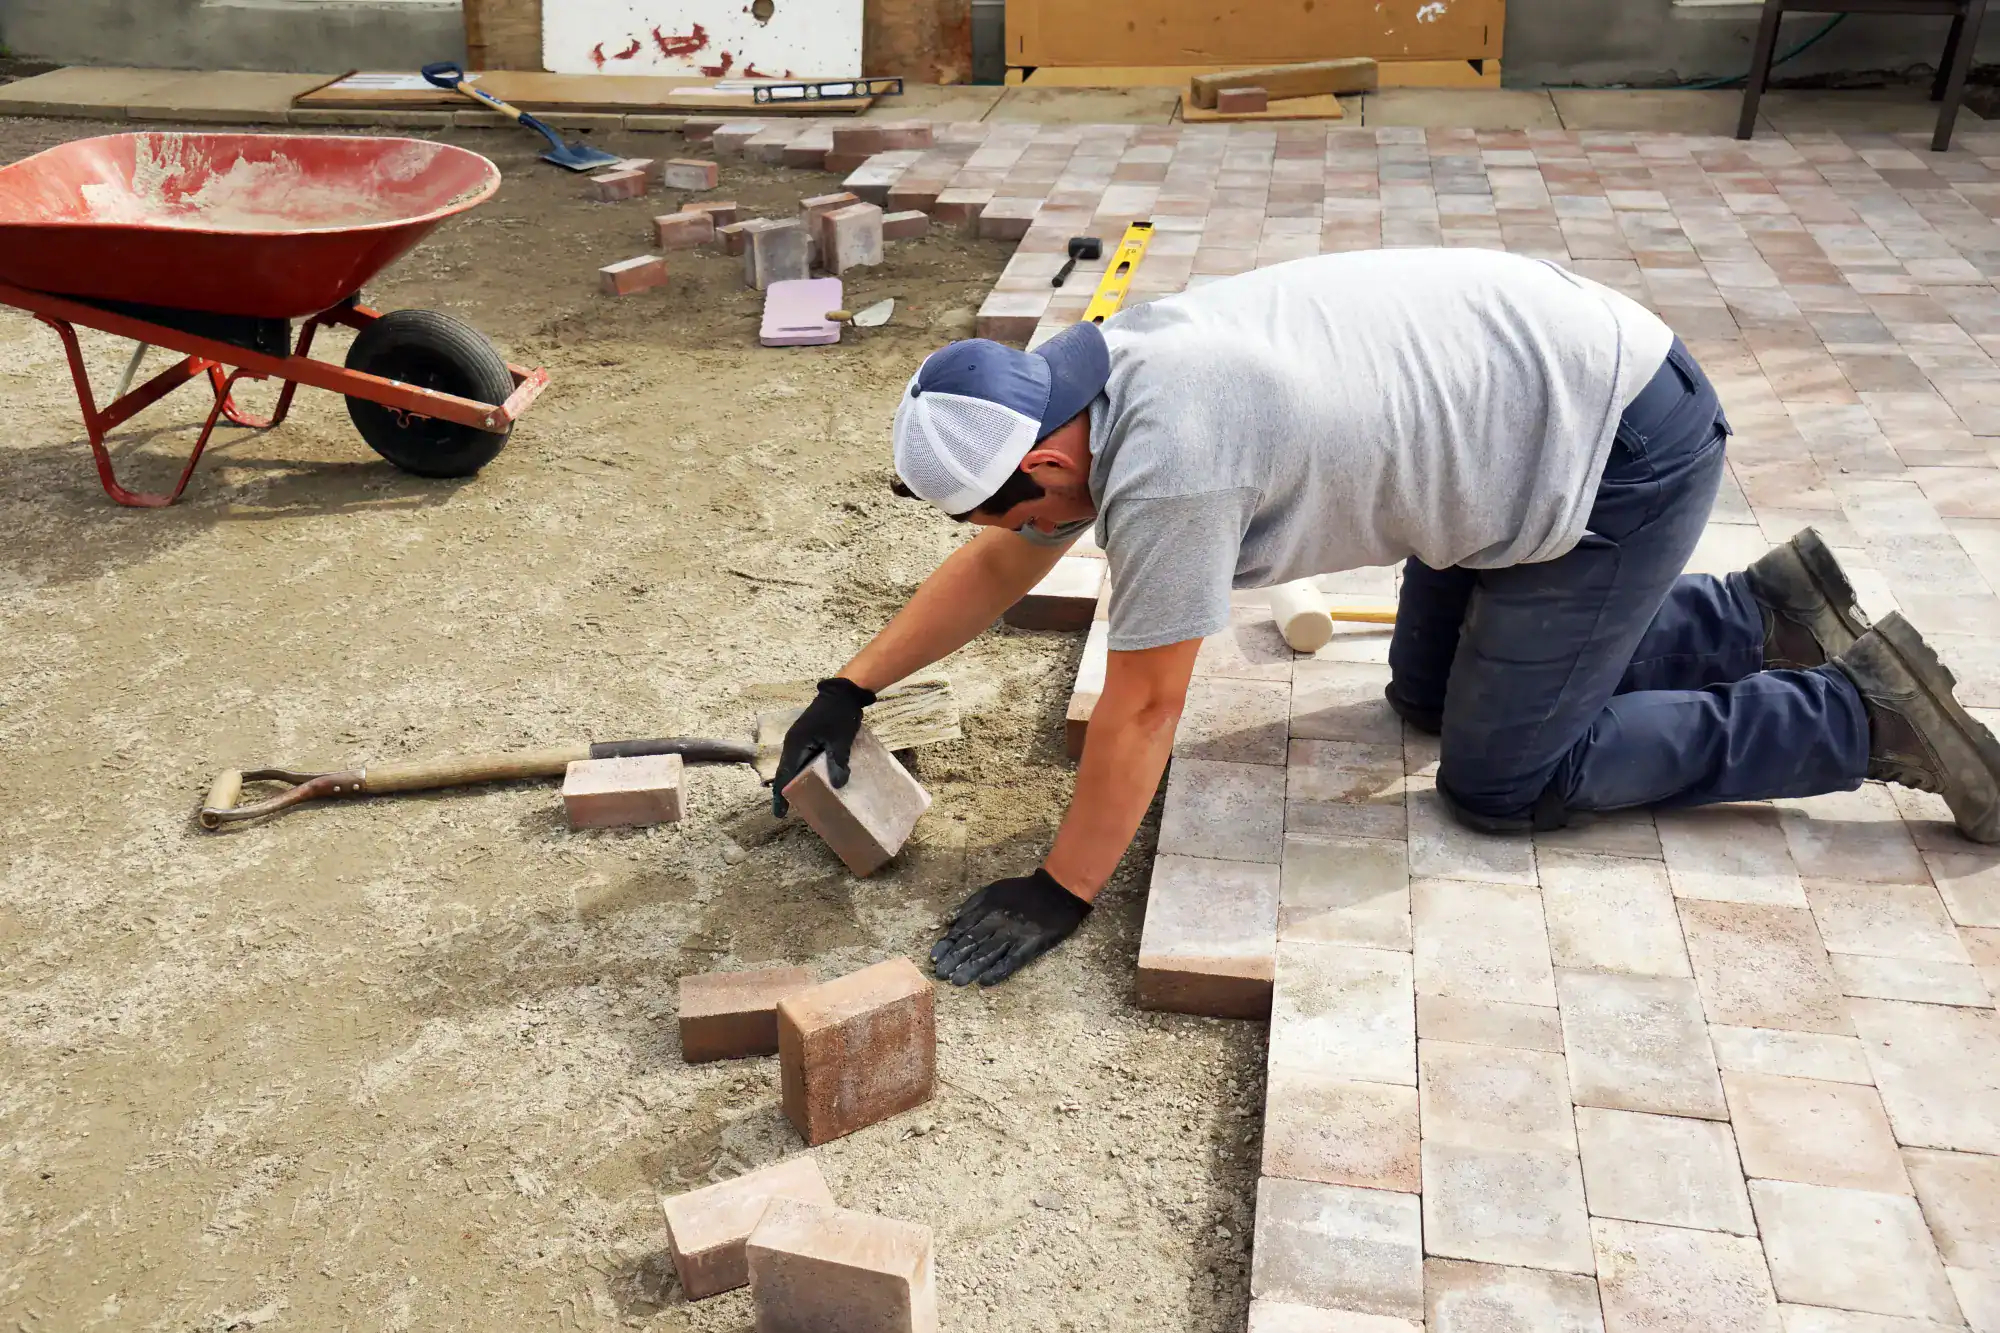
Site preparation comes next – and this is where most contractors cut corners. We excavate to proper depth for Long Island conditions, install the right base materials, and compact everything correctly. You won’t see this work, but you’ll benefit from it for decades.

Installation means laying each paver with proper spacing, checking levels constantly, and ensuring water flows away from your home. We finish with edge restraints that actually hold and joint sand that stays put. The result is a paver surface that performs as well as it looks.

A person in red gloves and black work boots, likely a masonry contractor Nassau County, is laying gray pavers on sand with a rubber mallet and tape measure, working diligently on constructing a paved walkway or patio.

Ready to get started?

Explore More Services

About Raffaele Outdoor Concepts

Get a Free Consultation

Bethpage Paver Installation Services

Built for Long Island Weather

Every paver installation includes proper excavation, quality base materials, and installation techniques that work specifically in Nassau County’s soil and climate conditions. We’re not using generic methods – we’re using what works here.

Bethpage homeowners deal with clay soil that expands and contracts with moisture. Our base preparation accounts for this with proper drainage and materials that prevent the shifting you see with poorly installed paver surfaces.

We install concrete pavers, brick paver patios, and natural stone depending on your preferences and budget. Each has advantages, and we’ll explain the differences honestly so you can choose what makes sense for your specific situation and how you plan to use the space.

A masonry contractor Nassau County, NY kneels on the ground, wearing gloves and a cap, carefully placing brick pavers for a patio. Nearby, a wheelbarrow, shovel, and spirit level rest on the unfinished surface.

How much does paver installation cost in Bethpage, NY?

Paver installation in Bethpage typically runs $16-$19 per square foot for concrete pavers with proper base preparation. A standard 16×18 foot paver patio costs between $4,600-$5,600 installed, including excavation, base materials, and professional installation. The total depends on your specific project – size, paver type, site conditions, and any special requirements like drainage or removal of existing surfaces. Brick paver patios cost slightly more due to material costs, while basic concrete pavers are more budget-friendly. We provide detailed estimates that break down every cost so you know exactly what you’re paying for. No surprises, no hidden fees – just honest pricing for quality masonry work that lasts.
Concrete pavers are manufactured to consistent sizes and come in many colors and styles, including options that look like natural stone. They’re typically less expensive than brick and easier to install, making them popular for larger paver patio installations. Brick pavers are made from fired clay and offer a classic, timeless appearance. They’re naturally slip-resistant and extremely durable, but cost more than concrete pavers. Brick has a more limited color range but ages beautifully over time. Both work well in Bethpage’s climate. The choice usually comes down to your style preferences, budget, and how the pavers will complement your home. We can show you samples of both so you can see how they look with your specific house and landscaping.
Properly installed paver patios last 15-25 years or more with minimal maintenance. The key is correct installation – proper base preparation, adequate drainage, and quality materials that handle our freeze-thaw cycles without cracking. Long Island’s climate actually favors pavers over concrete because pavers can flex slightly with temperature changes. Individual pavers move without creating the large cracks you see in concrete surfaces that fail after just a few years. Base preparation determines longevity. We excavate to proper depth, install compacted stone base, and ensure drainage so water doesn’t pool or freeze under the pavers. This prevents the settling and shifting that cause problems with rushed installations.
Sealing isn’t required but it’s recommended for most paver installations in our area. Sealing protects against stains, helps maintain color, and makes cleaning easier. Without sealing, pavers can fade significantly over time and become more susceptible to oil stains and discoloration. We typically recommend waiting about a year after installation before sealing to allow the pavers to weather naturally. This lets any manufacturing residue wash away and ensures the sealer penetrates properly for maximum protection. The sealing process involves thorough cleaning, then applying a penetrating sealer that protects without creating a slippery surface. Properly sealed pavers should be resealed every 3-5 years depending on traffic and exposure. We can handle the sealing or recommend products if you prefer to do it yourself.
Properly installed pavers shouldn’t settle significantly, but if they do, individual pavers can be lifted and releveled without replacing the entire surface. This is a major advantage of pavers over concrete – repairs are possible and relatively straightforward. Minor settling usually indicates inadequate base preparation or drainage issues. The affected pavers can be removed, the base corrected, and the pavers reinstalled. This costs much less than replacing a cracked concrete patio. Prevention beats repair every time. That’s why we focus on proper excavation, adequate base thickness, and correct compaction during installation. We also ensure proper drainage so water doesn’t pool under the pavers. When the foundation is right, settling problems are rare.
Paver maintenance is straightforward – regular sweeping, occasional washing, and periodic joint sand replacement. Unlike concrete, you won’t need to worry about sealing cracks or major repairs if the installation was done properly. Sweep regularly to prevent debris from staining the pavers. For cleaning, use a garden hose or pressure washer on a low setting. Avoid harsh chemicals that can damage the paver surface or affect the joint sand between pavers. Every few years, you may need to add joint sand where it’s been washed away. This is normal and easy to do – just sweep new sand into the joints and compact lightly. If you’ve sealed your pavers, plan to reseal every 3-5 years to maintain protection and appearance.